Web Framework「Astro」を触ってみた
Feb 12, 2023 15:10 · 2267 words · 5 minute read
UIT INSIDEやmozaic.fmで話題にあがっていたAstroを試してみました。
なかなか良さそうだったので、今後のためにメモを残しておきます。
- ep.138『State of JS 2022を振り返る』 | UIT INSIDE - LINE UIT の開発者による「最新のフロントエンド」をキャッチアップできる Podcast (linecorp.com)
- ep111 Yearly Platform 2022 | mozaic.fm
目次
まずは動かしてみる
公式ドキュメントを参照しながら、Dockerでサクッと動かしてみます。
Getting Started 🚀 Astro Documentation
finch container run -it --name astro-sample --rm --publish 3000:3000 --mount type=bind,source="$(pwd)"/src/,target=/mnt node:18-bullseye-slim bash
Astroをインストール&プロジェクトの新規作成。
Houstonが可愛いですね。
npm create astro@latest
Need to install the following packages:
  create-astro@3.0.0
Ok to proceed? (y)

╭─────╮  Houston:
│ ◠ ◡ ◠  Let's build something awesome!
╰─────╯

 astro   v2.0.10 Launch sequence initiated.

   dir   Where should we create your new project?
         ./

  tmpl   How would you like to start your new project?
         Include sample files
      ✔  Template copied

  deps   Install dependencies?
         Yes
      ✔  Dependencies installed

   git   Initialize a new git repository?
         Yes
      ✔  Git initialized

    ts   Do you plan to write TypeScript?
         Yes

   use   How strict should TypeScript be?
         Strict
      ✔  TypeScript customized

  next   Liftoff confirmed. Explore your project!
         Run npm run dev to start the dev server. CTRL+C to stop.
         Add frameworks like react or tailwind using astro add.

         Stuck? Join us at https://astro.build/chat

╭─────╮  Houston:
│ ◠ ◡ ◠  Good luck out there, astronaut! 🚀
╰─────╯
出来上がったプロジェクトのフォルダ構成はこんな感じ。
tree -L 2 .
.
|-- README.md
|-- astro.config.mjs
|-- node_modules
|   |-- @ampproject
|   |-- @astrojs
|   |-- @babel
(中略)
|   `-- zwitch
|-- package-lock.json
|-- package.json
|-- public
|   `-- favicon.svg
|-- src
|   |-- components
|   |-- env.d.ts
|   |-- layouts
|   `-- pages
`-- tsconfig.json
tree -L 2 ./src/
./src/
|-- components
|   `-- Card.astro
|-- env.d.ts
|-- layouts
|   `-- Layout.astro
`-- pages
    `-- index.astro

3 directories, 4 files
初期状態のconfigは非常にシンプル。
cat astro.config.mjs
import { defineConfig } from 'astro/config';

// https://astro.build/config
export default defineConfig({});
公式ドキュメントに例が書いてあるので、つまらず設定変更できそうです。
Configuration Reference 🚀 Astro Documentation
起動
npm run dev -- --host 0.0.0.0
「 http://localhost:3000/ 」にアクセスすると、起動が確認できました。
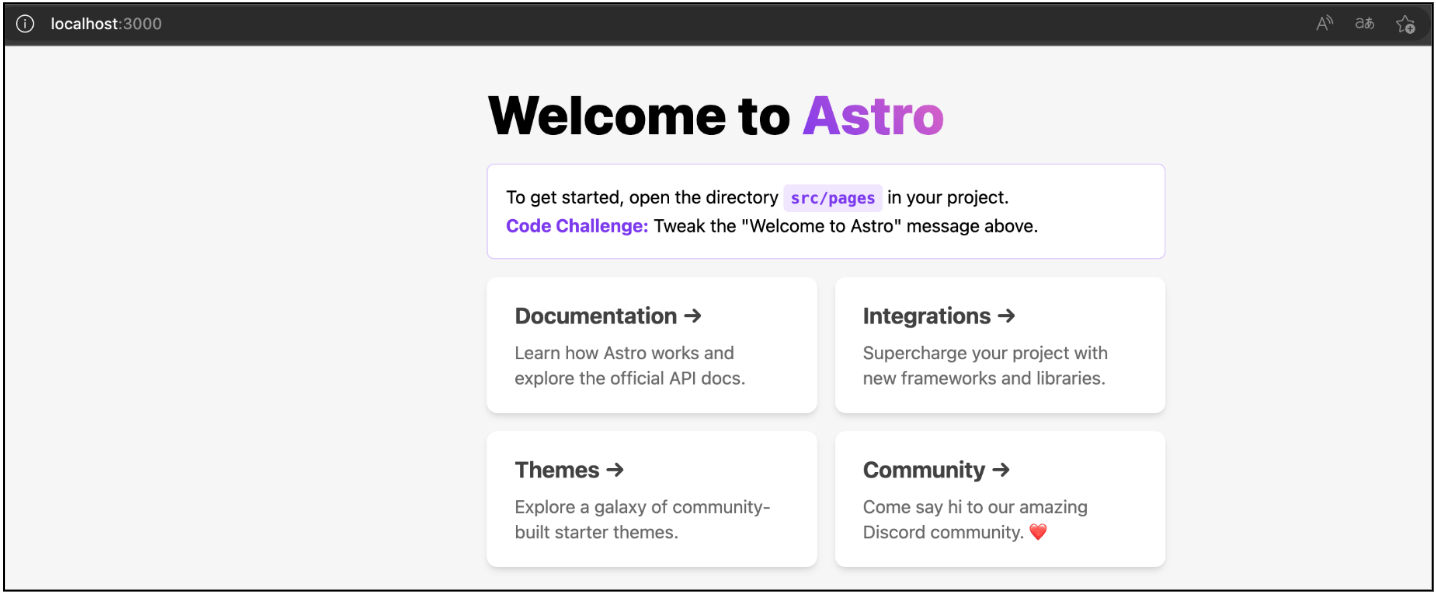
index.astroとCard.astroの内容がこちら。パッと見で大体内容がわかり、とっつきやすそうです。
---
import Layout from '../layouts/Layout.astro';
import Card from '../components/Card.astro';
---

<Layout title="Welcome to Astro.">
	<main>
		<h1>Welcome to <span class="text-gradient">Astro</span></h1>
		<p class="instructions">
			To get started, open the directory <code>src/pages</code> in your project.<br />
			<strong>Code Challenge:</strong> Tweak the "Welcome to Astro" message above.
		</p>
		<ul role="list" class="link-card-grid">
			<Card
				href="https://docs.astro.build/"
				title="Documentation"
				body="Learn how Astro works and explore the official API docs."
			/>
			<Card
				href="https://astro.build/integrations/"
				title="Integrations"
				body="Supercharge your project with new frameworks and libraries."
			/>
			<Card
				href="https://astro.build/themes/"
				title="Themes"
				body="Explore a galaxy of community-built starter themes."
			/>
			<Card
				href="https://astro.build/chat/"
				title="Community"
				body="Come say hi to our amazing Discord community. ❤️"
			/>
		</ul>
	</main>
</Layout>

<style>
	main {
		margin: auto;
		padding: 1.5rem;
		max-width: 60ch;
	}
	h1 {
		font-size: 3rem;
		font-weight: 800;
		margin: 0;
	}
	.text-gradient {
		background-image: var(--accent-gradient);
		-webkit-background-clip: text;
		-webkit-text-fill-color: transparent;
		background-size: 400%;
		background-position: 0%;
	}
	.instructions {
		line-height: 1.6;
		margin: 1rem 0;
		border: 1px solid rgba(var(--accent), 25%);
		background-color: white;
		padding: 1rem;
		border-radius: 0.4rem;
	}
	.instructions code {
		font-size: 0.875em;
		font-weight: bold;
		background: rgba(var(--accent), 12%);
		color: rgb(var(--accent));
		border-radius: 4px;
		padding: 0.3em 0.45em;
	}
	.instructions strong {
		color: rgb(var(--accent));
	}
	.link-card-grid {
		display: grid;
		grid-template-columns: repeat(auto-fit, minmax(24ch, 1fr));
		gap: 1rem;
		padding: 0;
	}
</style>
---
export interface Props {
title: string;
body: string;
href: string;
}
const { href, title, body } = Astro.props;
---
<li class="link-card">
<a href={href}>
<h2>
{title}
<span>→</span>
</h2>
<p>
{body}
</p>
</a>
</li>
<style>
.link-card {
list-style: none;
display: flex;
padding: 0.25rem;
background-color: white;
background-image: none;
background-size: 400%;
border-radius: 0.6rem;
background-position: 100%;
transition: background-position 0.6s cubic-bezier(0.22, 1, 0.36, 1);
box-shadow: 0 4px 6px -1px rgba(0, 0, 0, 0.1), 0 2px 4px -2px rgba(0, 0, 0, 0.1);
}
.link-card > a {
width: 100%;
text-decoration: none;
line-height: 1.4;
padding: 1rem 1.3rem;
border-radius: 0.35rem;
color: #111;
background-color: white;
opacity: 0.8;
}
h2 {
margin: 0;
font-size: 1.25rem;
transition: color 0.6s cubic-bezier(0.22, 1, 0.36, 1);
}
p {
margin-top: 0.5rem;
margin-bottom: 0;
color: #444;
}
.link-card:is(:hover, :focus-within) {
background-position: 0;
background-image: var(--accent-gradient);
}
.link-card:is(:hover, :focus-within) h2 {
color: rgb(var(--accent));
}
</style>
ブログテンプレートも動かしてみる
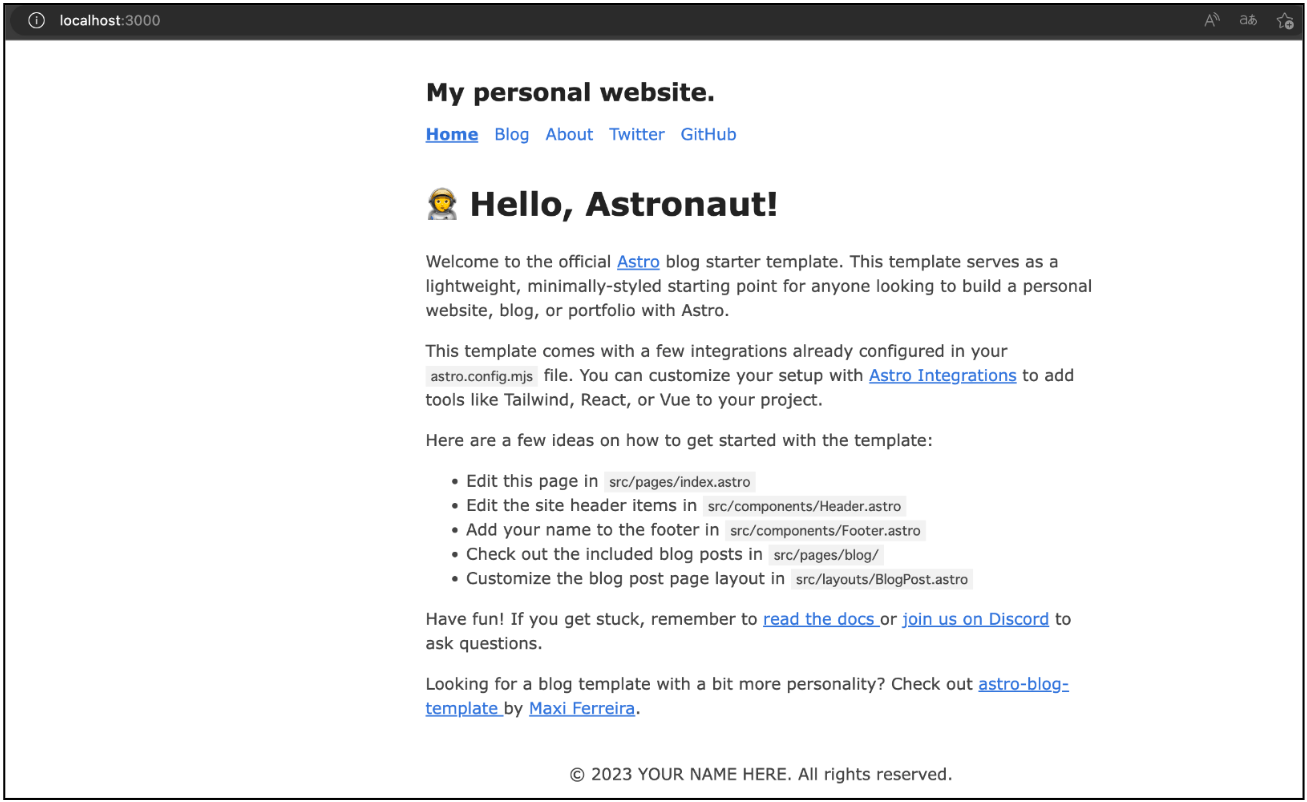
プロジェクト作成時の選択肢に「Use blog template」があったので、そちらも試してみます。
ブログテンプレートを起動した様子がこちら。シンプルながら必要な要素がまとまっている印象です。ここに手を加えたらオリジナルのブログも簡単に作れそうですね。
configの内容が少し変わっていて、sitemapやmdxの機能が追加されていました。 インテグレーションを追加することで、Lazy Loadなども追加できます。
cat astro.config.mjs
import { defineConfig } from 'astro/config';
import mdx from '@astrojs/mdx';

import sitemap from '@astrojs/sitemap';

// https://astro.build/config
export default defineConfig({
	site: 'https://example.com',
	integrations: [mdx(), sitemap()],
});
公式ドキュメントの気になった箇所
公式ドキュメントをパラパラと見た中で、気になった内容のメモ書きです。
- 簡単にAstroに機能を追加できる
- デプロイ先。主要なデプロイ先は網羅されている印象
- デプロイ先によって「SSR」「Static」の可否が異なる
- SSRが使える環境はStaticに比べると少ない
- Netlifyにでブロイしたい場合の解説
- /src/pages/以下にファイルを追加することでページの追加ができる
- mdやjsが使える
- 動的ルーティングも可能
- Pagination機能も標準装備
- テーマが色々公開されている。目的に合わせて参考にできる
- 外部CMSとの連携に使える
Build your first Astro Blog 🚀 Astro Documentation
- ブログの作成から公開までのチュートリアル
- Playwrightを使ったテストのサンプル
Next.jsとの比較
Astroを少し触って、「Next.jsと用途が重なっている部分がありそう」と感じたので、AstroとNext.jsを比較している記事をいくつか読みました。
Astro.js - Next.jsからWebアプリケーションを移行してみた感想 - Qiita
- 認証やSSR周りで筆者の詰まった点が書いてあって参考になりました
AstroとReactアプリのNext.jsの比較 (morioh.com)
- AstroとNext.jsを総括的に比較した記事
静的サイトジェネレーターを Next.js から Astro に乗り換えた 🧑🚀 | rakuishi.com
- 速度比較がわかりやすかった
SSGとしてのAstroとNext.jsを比較してみた (zenn.dev)
- 1000ページの静的サイトをビルドして比較
静的コンテンツ作成という面ではAstroが光る部分があり、SSRを使ったり多機能なアレコレを実装したい場合は、機能や事例の多いNext.jsに軍配が上がる、といった感じでしょうか。
最後に
各所で話題のAstroを触ってみました。静的なサイトを作るときに良い選択肢の1つになりそうですね。 今回はチュートリアルと事前調査だけでしたが、今後なにかお題を見つけて簡単なWebサイトを作ってみたいと思いました。